
This article is about the belt as a specification and a system. The reader is choosing a belt, checking whether the tensioner is doing its job, or chasing a noise — and needs the criteria, not a catalog. It deliberately stops short of the pulley-removal procedure, which is its own hands-on subject.
In short
A serpentine belt is specified by rib count, effective length, and profile — not by eyeball. Tension comes from the auto tensioner's wear band or a manual setting with a gauge. A squeal at startup that fades is usually slip; a constant hum or growl is usually a bearing. Diagnose which before buying either part.
Belt Anatomy: Ribs, Profile, and the Sizing Question
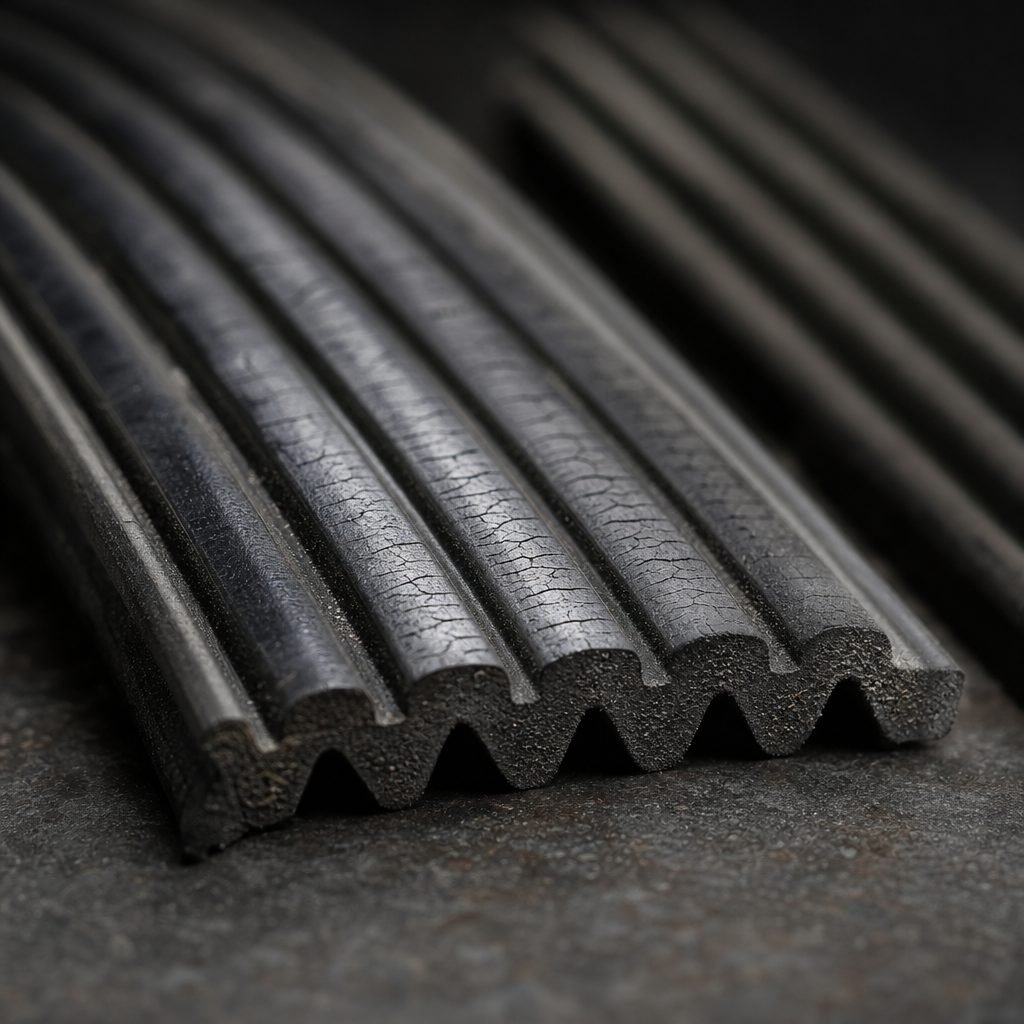
An automotive serpentine belt is a multi-rib band: four to seven (sometimes more) narrow ribs running its length, engaging matching grooves in every pulley it touches. The rib count must match every pulley on the drive — crank, alternator, water pump, idlers — because one mismatched pulley seats the belt wrong across the whole run. The profile of those ribs has also evolved; older and newer belts use subtly different rib shapes, which is why two belts of the same length and rib count are not automatically interchangeable. The third dimension is effective length, measured along the belt's neutral axis, which is why what size serpentine belt do i need has one honest answer: the specification for your exact engine and drive, confirmed by the OE number or a direct match to the belt that came off.
The specification is not optional information. A belt one rib off will not seat; a belt slightly short hangs the tensioner outside its working band; a belt slightly long never develops full tension. Belts also stretch marginally in service — the tensioner exists to absorb that — so the wear band on the tensioner and the belt length are a matched system, not independent purchases. When a serpentine belt for car use is bought, the matching data is the product; the rubber is just the carrier. The naming around the purchase is noisy but resolves to the same data: an auto serpentine belt listing, an automotive serpentine belt catalog line, an oem serpentine belt supplied through the official channel, serpentine belt kits that bundle the belt with a tensioner, and serpentine drive belts as a category — each is the same three facts (ribs, profile, length) with a different word in front. A serpentine belt for my car is answered by the vehicle's own specification, never by a generic chart.
The older v belt alternator drive is still around and simpler: a single (or double) V-groove pulley and a trapezoidal belt. The same matching discipline applies — groove angle, top width, and length — but tension management differs, which matters for the next section. A double v belt setup shares load across two belts and, on manual-adjust systems, is tensioned as a pair. Double v belts on a heavy installation are matched by length so they share load evenly; an engine alternator belt on an older machine is a v-belt specified the same way.
Tension: Automatic Versus Manual
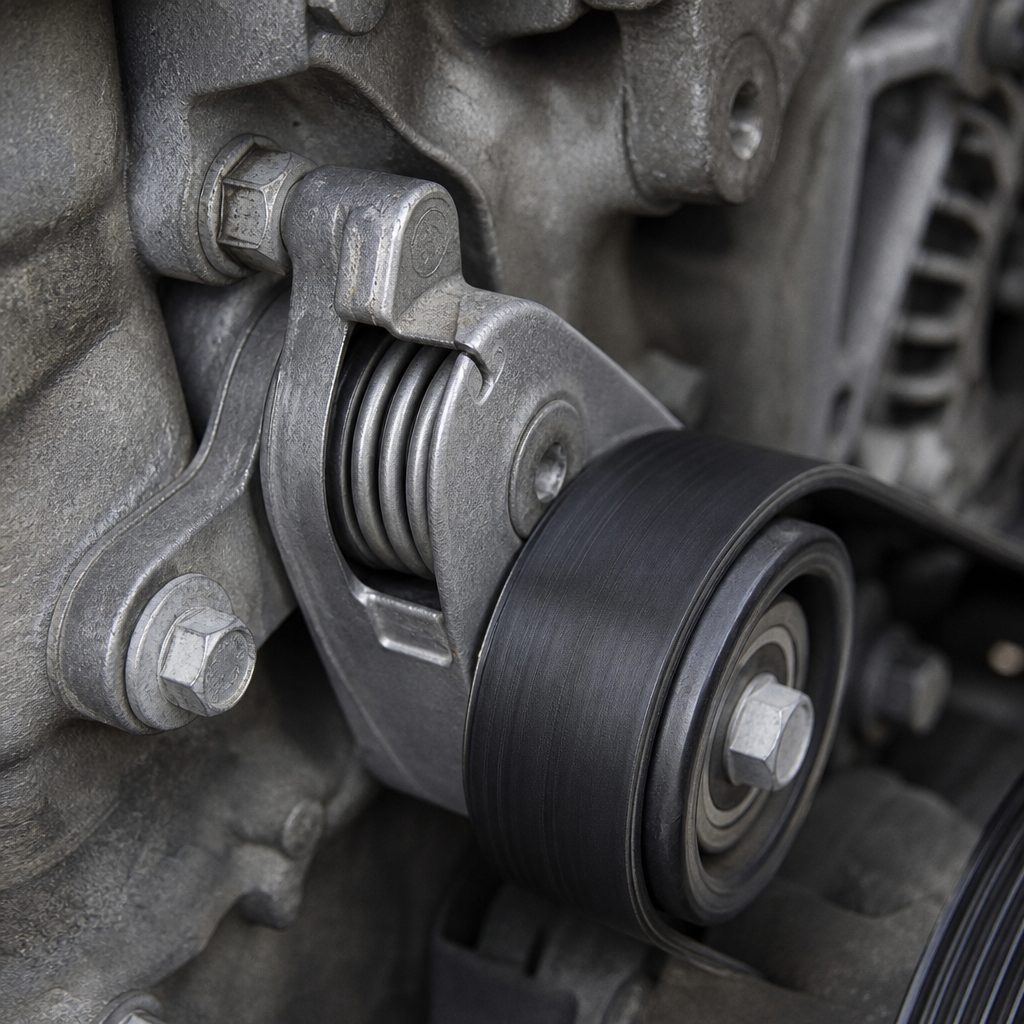
Most modern drives use an auto tensioner: a spring-loaded arm with a pulley, holding the belt at a designed tension and absorbing the stretch and the torsional pulses that the crankshaft feeds into the drive. The tensioner has a wear indicator — a marked band on the arm or body — and the reading is a diagnostic, not decoration: arm outside the band means the spring is tired or the belt has stretched beyond design. The auto tensioner pulley itself is a bearing with a flat face; spin it by hand and roughness or play condemns it regardless of how the arm reads.
Manual tension survives on v belt drives and some older serpentine layouts: an adjusting bracket on the alternator or a slider that sets belt deflection. The traditional field check is deflection at mid-span — roughly, thumb pressure should move the belt a modest distance, and the exact figure is a specification, not folklore. The professional method is a tension gauge on the span, set to the factory figure. Undertension slips and glazes the belt; overtension loads the alternator's front bearing and can pull it out of alignment — the belt tensioner alternator relationship is a system where one wrong force surfaces as a different component's failure.
A word on the universal v belt tensioner idea: there is no reliable universal. Tensioner fitment follows the bracket and the spring rate the drive was engineered around, and a "fits most" tensioner is a spring rate guess. The alternator belt and tensioner are bought as a matched pair for the vehicle, by OE number, or the diagnosis that follows will chase symptoms the wrong part created. The naming flips around the same hardware — an alternator tensioner, a belt tensioner alternator setup, or a tensioner alternator belt pairing describe the same spring-and-arm unit holding the same belt — but the part is matched to the drive, not to the phrase. Belting alternator drives is a system decision, and the belt alternator pairing is engineered as one.
Routing: The Part That Punishes Memory
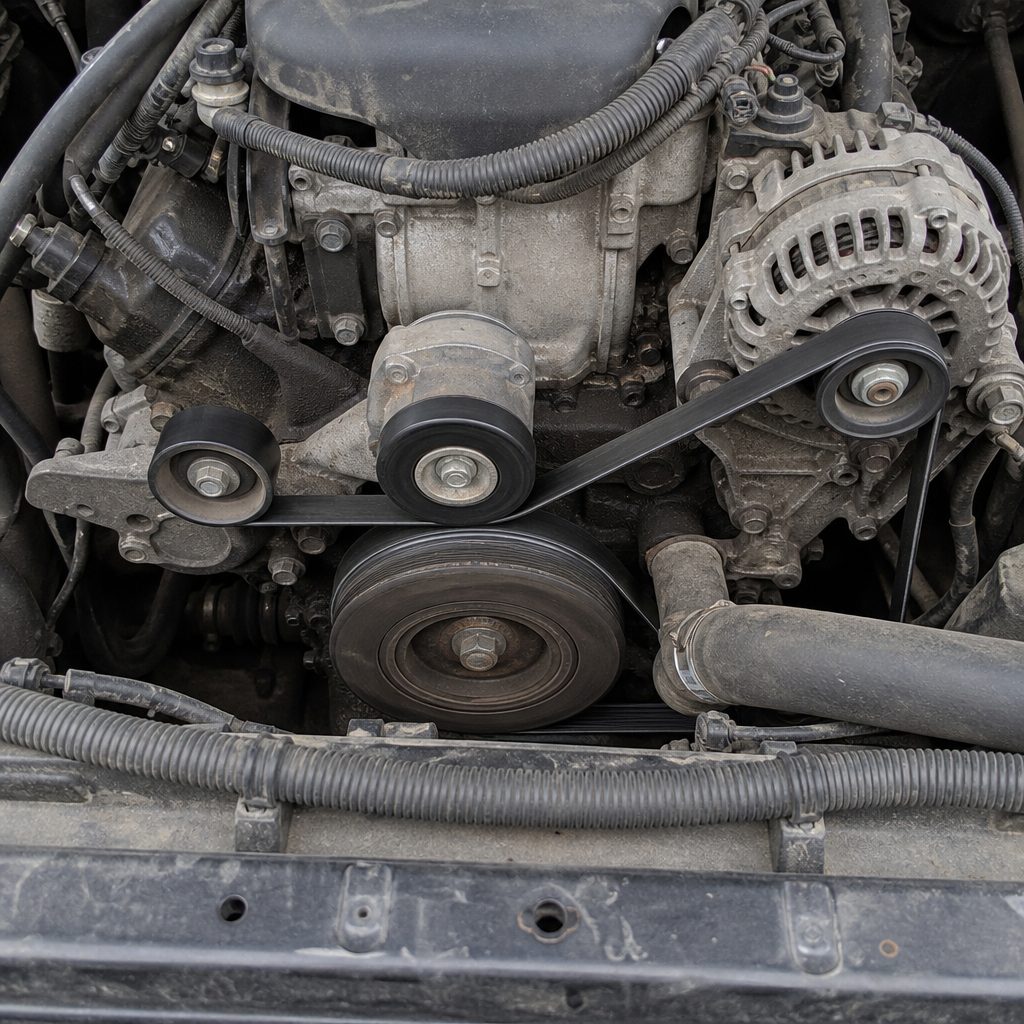
Serpentine routing is a specific path around every pulley — including the alternator pulley — and it is not guessable from first principles. The vehicle provides a diagram — underhood sticker, or the service data — and the photograph you take before removal is the second source. The two failure modes of a misrouted belt are immediate: a pulley turning backwards (water pump running reversed overheats the engine quietly), or a belt that walks off within minutes of running. Routing errors are also the cheapest mistakes on this page to prevent and the most expensive to discover.
The practical sequence for how to put alternator belt hardware back: route the belt around every fixed pulley first, leave the tensioner release for last, seat the belt fully in every groove, then rotate the engine by hand through two revolutions and re-inspect the seating at each pulley. The hand rotation is the check that catches a belt riding one rib off while it is still a five-second correction. The question has many grammars — how to put an alternator belt back on, how to put belt back on alternator pulleys, or how to put on alternator belt hardware with one hand on the wrench — and one answer: route fully, release last, rotate by hand, re-check. For how to take the belt off an alternator drive, reverse it: release the tensioner with the wrench on its release point, hold it, slip the belt off the nearest accessible pulley, and release the tensioner slowly — never let it snap back. How to take off alternator belt assemblies is the same three moves with the words rearranged.
A belt that is difficult to route is usually correct: the last span over the tensioner is meant to need the release tool. A belt that routes easily by hand and ends up slack was routed wrong or is the wrong length — and the tensioner reading, checked immediately, will say which.
The Squeal: Slip or Bearing?
The two noises that bring people to this page sound similar and have different cures. The classic slip squeal is a sharp, rising chirp or scream at engine startup — especially cold or damp — that fades as the belt warms and grips. Its causes, in likelihood order: an undertensioned or glazed belt, a worn tensioner sitting outside its band, oil or coolant contamination on the pulleys, or a pulley that is not turning freely (a seizing idler or compressor clutch drags the belt). The slip test is visual: with the engine running, watch the belt at each pulley for flutter, and watch the tensioner arm for oscillation.
The bearing noise is different: a constant hum, growl, or rumble that tracks engine speed without the startup pattern. Its sources are the tensioner pulley, an idler, or the alternator's own front bearing — and the diagnosis is the spin test with the belt off: roughness or play in any pulley condemns that pulley. The distinction matters because the cures are different parts: a slipping belt needs tension and condition work (and the cause of any contamination found), while a bearing noise needs the failing pulley replaced — and fitting a new belt on a drive with a rumbling idler destroys the belt with the same noise still present.
The overrunning alternator decoupler belongs in this diagnosis. On vehicles fitted with an OAD pulley, a worn decoupler produces a buzzing or rattling at idle that can be mistaken for a belt or tensioner fault. The distinguishing test: watch the tensioner arm at idle — a decoupler problem shows as rapid arm oscillation — and check the decoupler's freewheel behavior with the belt off. This is the one case where the "belt noise" is actually the pulley on the alternator, and no belt or tensioner replacement will silence it.
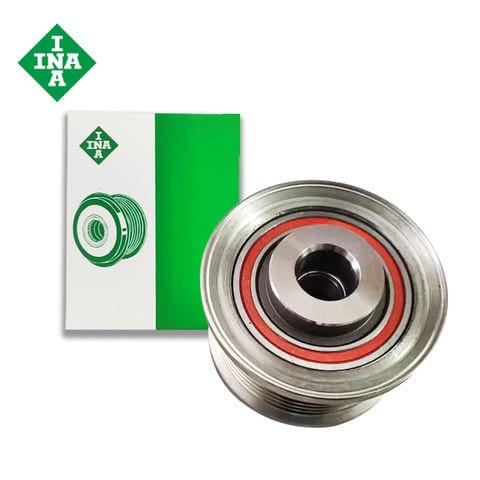
Alternator Pulley for Toyota Hilux III Pick-up
- New condition · inspected before dispatch
PriceUS$13.90–14.64
Minimum order 5 pieces
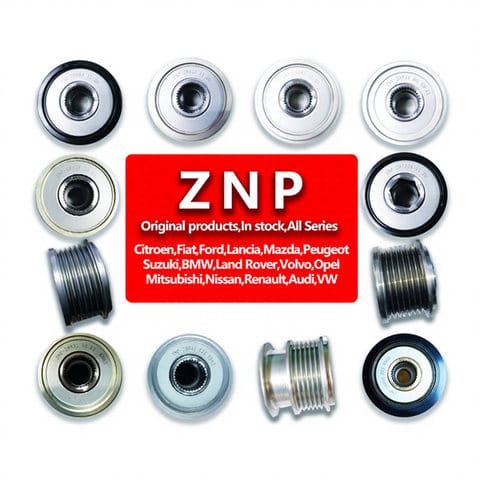
ZNP Alternator Pulley for Citroen / Fiat / Peugeot / Nissan
- New condition · inspected before dispatch
PriceUS$6.80–8.80
Minimum order 10 pieces
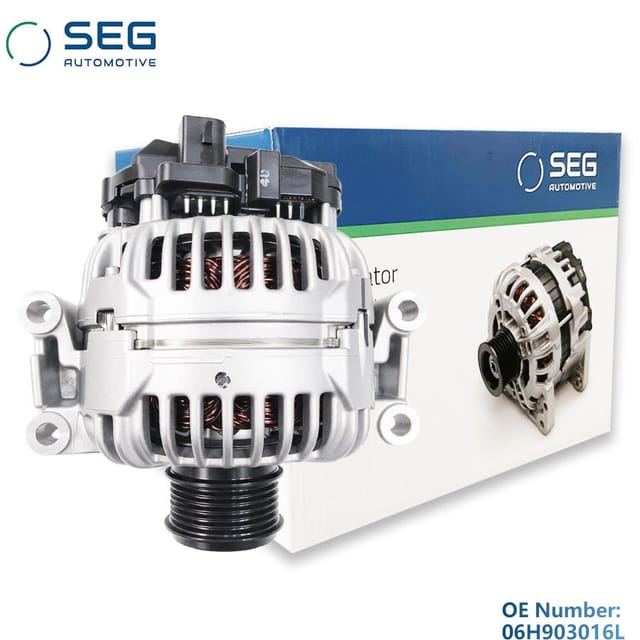
SEG Alternator 12V for Audi A5 (06H903016L)
- OE / cross-reference: 06H903016L · 525226 · 0124525113
- SEG brand line
- New condition · inspected before dispatch
PriceUS$174.99-180.99
Minimum order 2 pieces
FAQ
What size serpentine belt do I need?
The one your drive was built around: rib count, profile, and effective length for your exact engine. Match by OE number or by the number from the belt that came off. Two belts that look alike and differ by one rib or a few millimeters of length are different products, and the tensioner will announce the difference.
How do I know if my belt tension is right?
On an auto tensioner, read the wear indicator: the arm or marks sit inside the band when tension is in design range. On manual adjustment, use a gauge on the mid-span and set to the factory figure. Guessing tension by thumb feel is how glazed belts and overloaded bearings start.
Why does my belt squeal when I start the car but stop after a minute?
That is the classic slip signature: the belt is glazed or undertensioned, grips as it warms, and the noise fades. Check the tensioner band and the belt surface. If the belt is contaminated with oil or coolant, find the leak — a new belt over a leaking seal squeals on schedule too.
Can a serpentine belt be put on without a tool?
Routing yes; the last span onto the tensioner needs the release tool — usually a breaker bar or wrench on the tensioner's release point. The belt is designed to need the tensioner released for installation; if it slips on with no release and runs slack, the routing or the length is wrong.
How long do serpentine belts last?
There is no fixed figure — duty, heat, and contamination set the rate. Inspect at every service: cracks across the ribs, missing chunks at the rib roots, glazing, or frayed edges are the condemn list. A belt inside its wear band, seated fully, with a steady tensioner needs nothing.
Is the tensioner replaced with the belt?
Not automatically — replaced on evidence. Spin the pulley (roughness or play condemns it), move the arm through its range (smooth and inside the band is healthy), and check the indicator with the new belt fitted. A tired spring shows as an arm outside the band within days of a belt change, and that is the honest time to replace it.
Related parts
Units from our range. Send an OE number and we will check fitment before quoting.
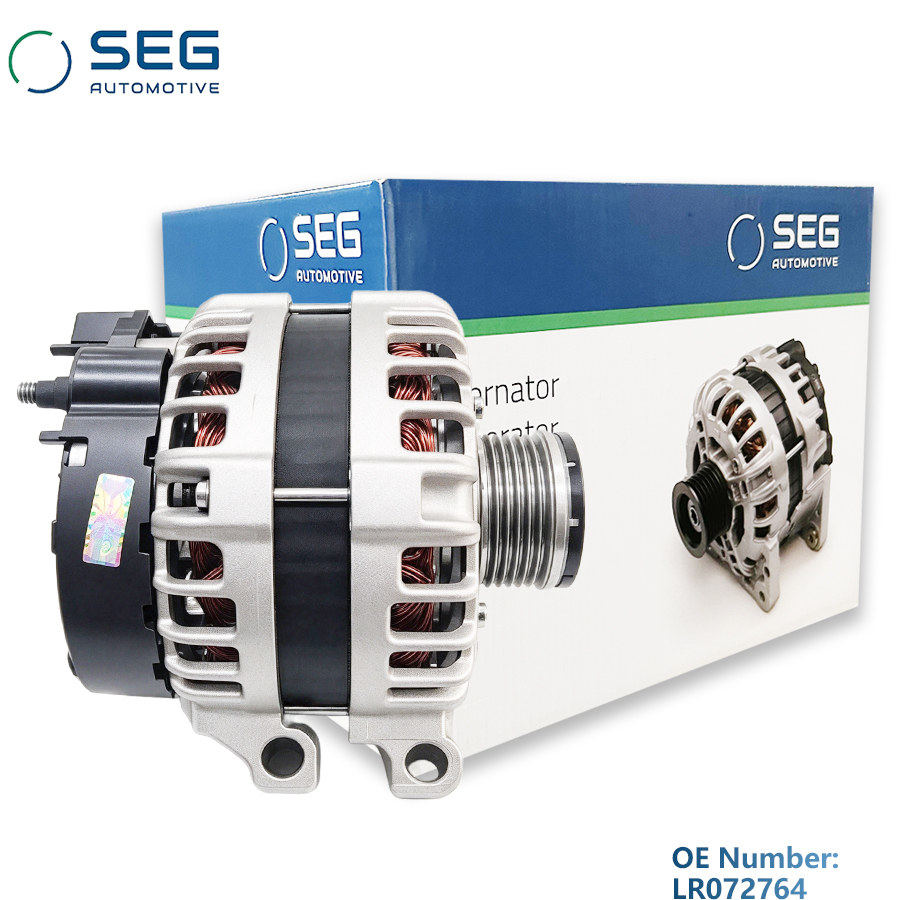 SEG Alternator 12V for Land Rover Range Rover Repair (LR072764)
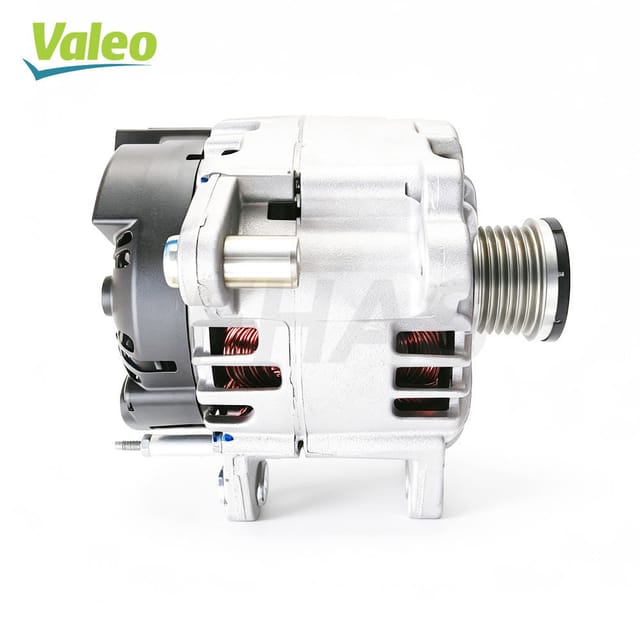 Valeo Alternator 12V 140A for VW Bora / Audi (03C903023A)
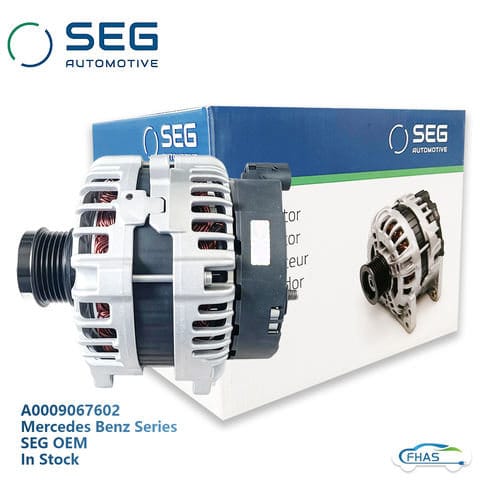 SEG Alternator 12V for Mercedes-Benz B200 W246 — A0009030022 Series
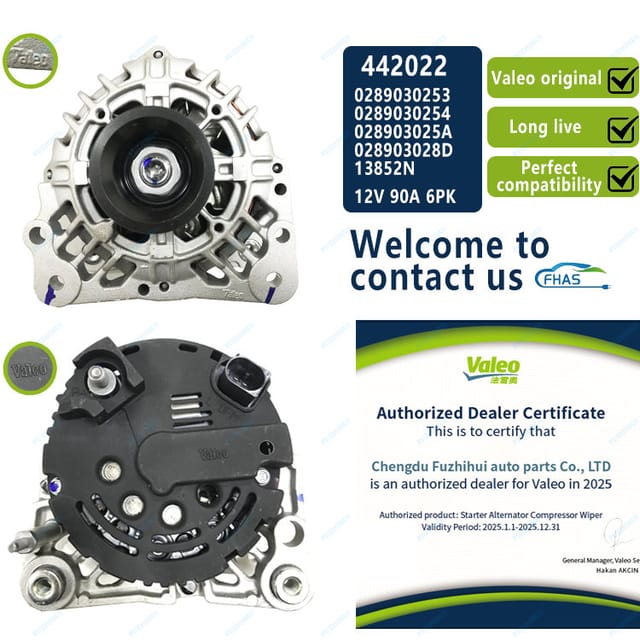 Valeo Alternator 12V for VW Golf (06A903026AV)
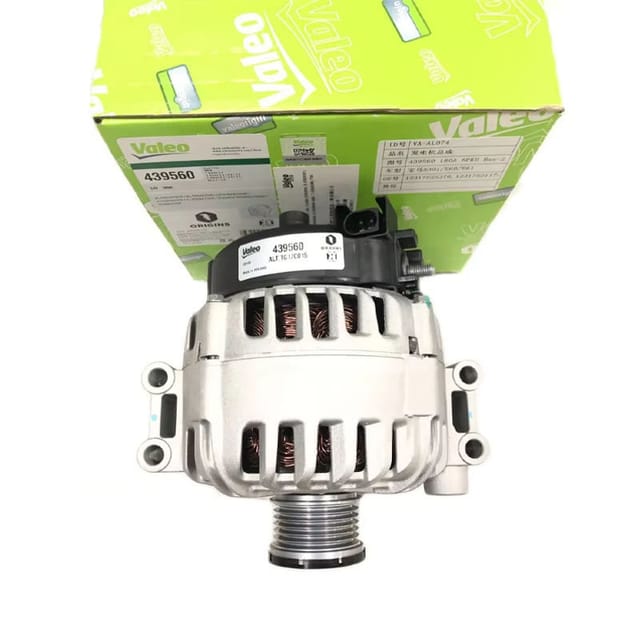 Alternator for BMW 530i E60 / E61 (439560)
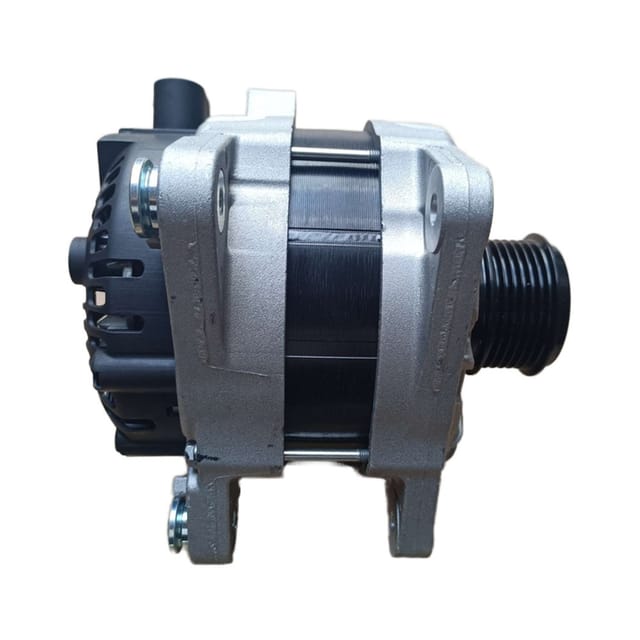 Alternator 14V 150A for SAIC Maxus (TG15S276)
Have a part number to price?
Send it over with the quantity and destination. You will get a fitment check, a unit price and a freight cost — usually the same business day.