
This article is the hands-on procedure. The reader is already at the vehicle with tools: the alternator pulley or the belt (or both) is coming off today. It covers the order of operations, the tools that make each step possible, and the checks that stop the job coming back. If you need to identify which pulley type is on the car, that identification guide is a separate subject — this page is the removal and refit.
In short
Break the pulley nut before the belt comes off — the belt holds the pulley while you loosen it. Release tension, slip the belt off, swap the pulley with the right hex-and-counterhold tool, route the new belt, and re-check tension. Torque the pulley nut to spec; a guessed torque either works loose or wrecks the clutch.
Before You Touch Anything: Three Checks
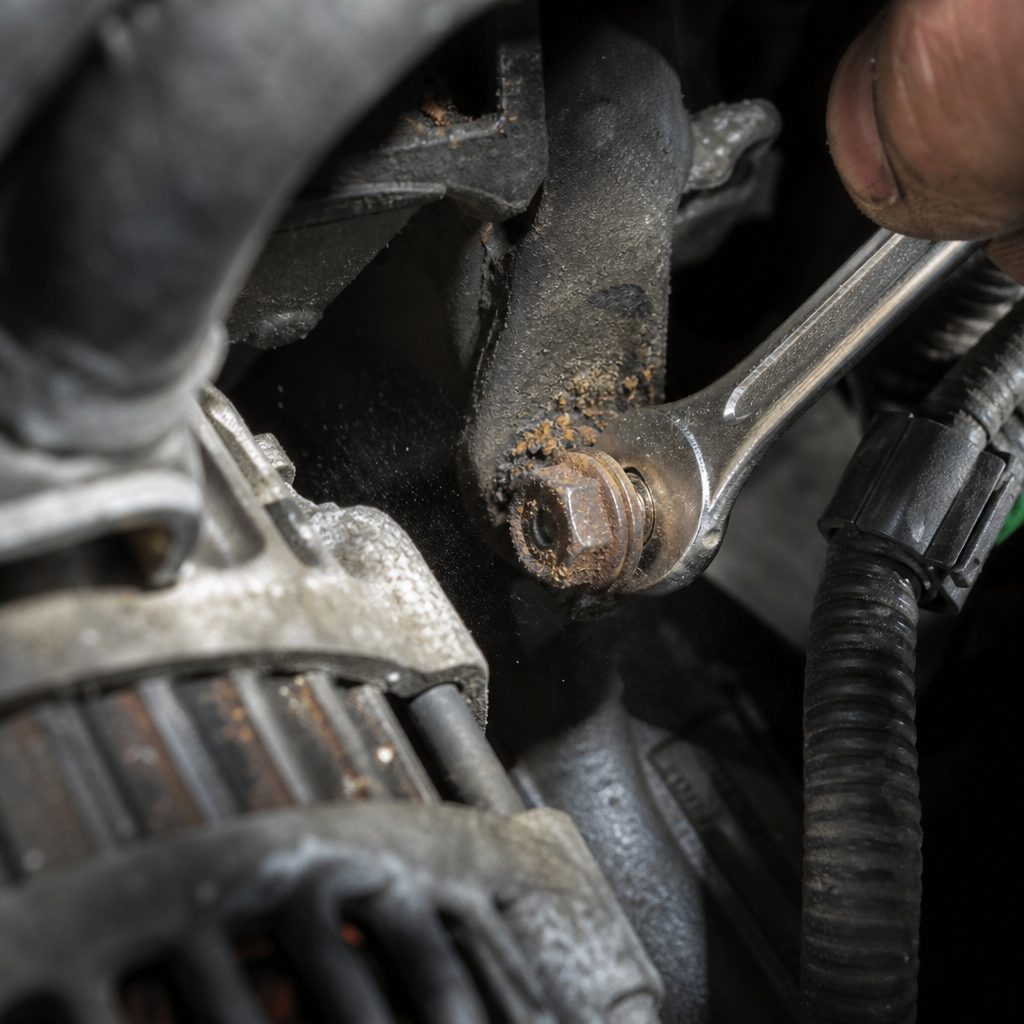
Photograph the belt routing before releasing anything. On a serpentine drive with six or more pulleys, the routing is a memory trap, and an incorrectly routed belt can turn the water pump backwards. The photograph takes ten seconds; guessing at routing with a loose belt takes an afternoon. If the routing diagram has vanished from the underhood sticker, the photo is the diagram.
Confirm the pulley type and thread direction before ordering or applying force. Decoupler and clutch pulleys need their specific tool, and some pulley nuts are left-hand thread — force applied in the usual direction on a left-hand nut tightens it to destruction. The specification comes from the OE number, not from the vehicle model year. While you are checking, order the belt by rib count and length, and inspect the tensioner: if the job is a belt replacement because the old one was chirping, the tensioner and idler condition belongs in the same diagnosis.
Set your torque values in advance. The pulley nut, the mounting bolts, and where applicable the belt tension setting each have a specification. The pulley nut figure is the critical one: decoupler pulleys are precision clutch assemblies, and the nut torque is part of their calibration. Write the numbers down before your hands are oily.
Name the job precisely before quoting it, because the phrasings multiply. Alternator pulley replacement, replacing alternator belt drives, an alternator clutch pulley replacement, or a car alternator belt replacement are different scopes of the same afternoon — each names a different parts list, and the quote should name which is being done. An alternator pulley replacement cost question answered without naming the scope is not an answer; what the job costs is decided by what the job includes, and there are honest reasons two quotes differ.
Getting the Pulley Off the Alternator
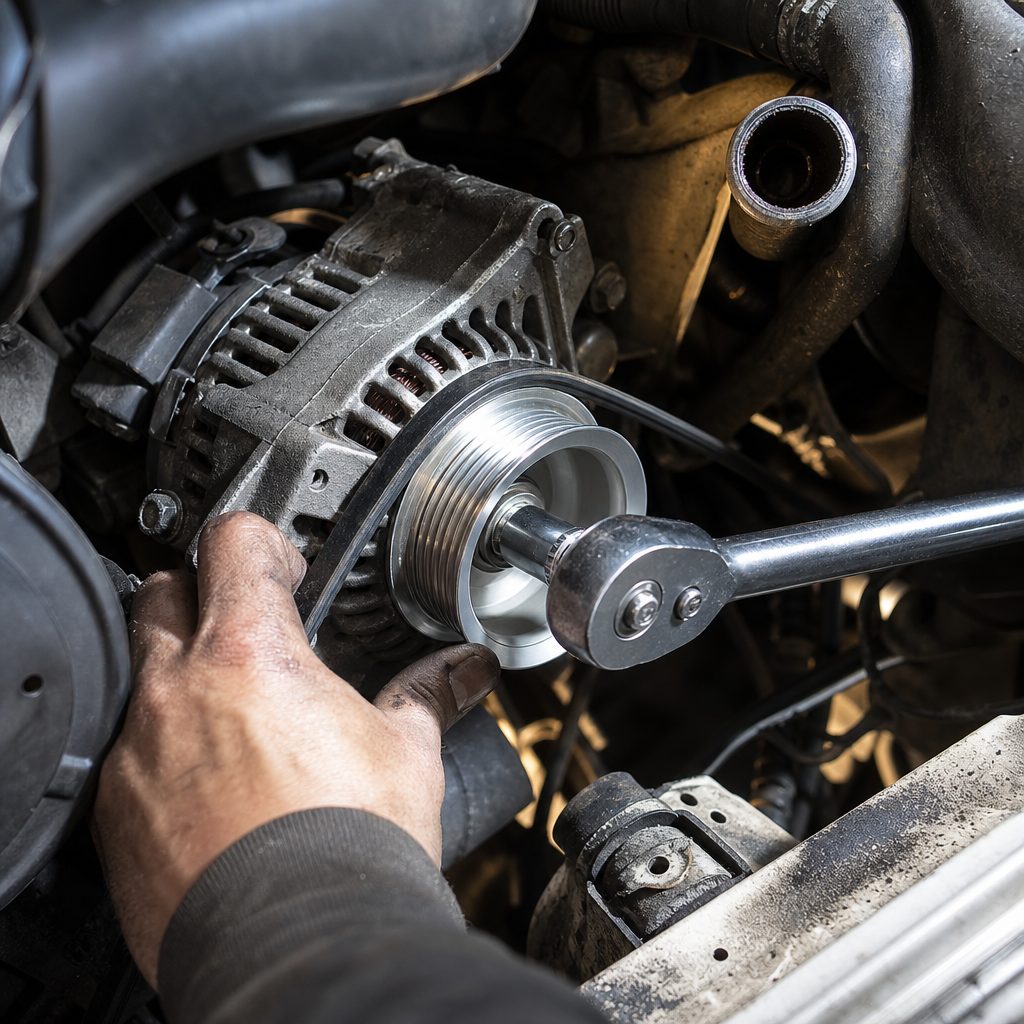
The sequence that saves the most time: break the pulley nut with the belt still fitted. The belt's grip on the pulley is what stops it spinning while you apply torque — which is why the mechanic who releases the belt first then wonders how to hold the pulley has made the job harder. With the belt on, fit the hex socket through the pulley center onto the shaft, engage the counter-hold where the design requires it, and break the nut. Only then release the tensioner and slip the belt off.
If the alternator is already on the bench, the same principle applies with a different fixture: clamp the unit (never by the housing ears alone — they crack) or use the shaft-hold tool through the pulley. How to remove an alternator pulley on the bench is one tool decision: hex-through-center with counter-hold for clutch pulleys, an impact wrench in short bursts for a solid pulley with a conventional nut, and a puller only where the specification admits one — forcing a puller onto a clutch assembly destroys it. The grammatical variants — how to remove pulley from alternator assemblies, remove alternator pulley hardware, or plain remove pulley from alternator mounts — are one procedure: fixture, hold the shaft, undo the nut in the correct direction. Alternator pulley removal done in that order is routine; done in any other order it is a repair.
Inspect what comes off. A used decoupler gets the bench check: drive direction should engage, the opposite direction should freewheel smoothly, and there should be no rattle from the springs. Roughness or a dead freewheel means the new pulley is not optional. Check the rotor shaft thread for damage from a previously botched removal, and check the pulley seat for fretting. How to take pulley off alternator hardware without marking the shaft matters for the refit: the thread and seat are the alignment. The question forms — how to remove alternator pulley nuts, how to remove an alternator pulley safely, or how to remove a alternator pulley with hand tools — all land on the same two answers: the right fixture and the confirmed thread direction.

Swapping the Belt: More Than a Strip of Rubber
Whether the belt is being replaced with the pulley or on its own, the inspection discipline is the same. Look for cracked ribs, glazing, missing chunks from the rib roots, and frayed edges. A glazed belt — shiny on the contact face — has been slipping, and slipping means either tension loss or a pulley that is not turning freely. Replacing a glazed belt without finding why it glazed buys weeks, not years. The job names vary with the scope: replacing alternator belt drives is a belt-and-tensioner inspection; how to replace alternator belt hardware on a manual-adjust drive includes setting tension; how to replace the alternator belt and how to replace an alternator belt on an auto-tensioned drive are the same steps minus the tension setting; changing alternator belt condition at the same time as a pulley swap is one access, two parts. How to change alternator belt routing is a different job — the photograph section above — and how to remove an alternator belt before a pulley job is the tensioner release, covered in the next section. Name the scope, and the steps follow.
The tensioner inspection happens now, with the belt off. Spin the tensioner pulley and every idler by hand: rumble, roughness, or play condemns the pulley, and a seized idler will destroy a new belt within days. Watch the tensioner arm move through its range — it should swing smoothly under spring pressure, and the indicator, where fitted, should sit inside its wear band. On drives with a manual adjustment, the wear band is a scale; on auto tensioners it is a marks system. A tensioner arm that sits outside its band with a new belt fitted is telling you the spring is tired, and no belt will fix that.
Refit or renewal, the routing comes next: follow the photograph, seat the belt fully in every groove — a belt riding one rib off will destroy itself and the pulley in short order — and release the tensioner onto it. Then, before the engine runs, rotate the engine by hand through at least two full revolutions (breaker bar on the crank bolt) and re-check the seating at every pulley. The hand rotation finds a misrouted or unseated belt while it is still a correction, not a repair.
Fitting the New Pulley and Finishing the Job
The new pulley goes on in reverse order with one absolute: the torque specification. Hex through the center, counter-hold on the shaft, torque wrench set to the factory figure. The clutch mechanism inside a decoupler is calibrated hardware; the nut torque is part of that calibration, and "tight" is not a specification. After torquing, spin-check the clutch one more time — drive engages, reverse freewheels — because a clutch damaged in fitting is cheaper to find now than after reassembly. The fitting questions — how to replace an alternator pulley, how to replace alternator pulley types correctly, how to change a pulley on an alternator, how to change the pulley on an alternator with the counter-hold tool, or the shorthand how to change alternator pulley and change alternator pulley variants — are one discipline: right type, right tool, right torque, spin-check. How to remove the pulley from an alternator is the first half of that same discipline, and replacing alternator pulley hardware is where most come-backs come from — every one of them traces to one of those four steps skipped. For how to remove alternator belt drives cleanly, the tensioner release answers it: wrench on the release point, hold, slip the belt off, let the arm back slowly.
With pulley and belt fitted, run the engine and watch two things: the tensioner arm at idle (steady is healthy; visible oscillation says the drive is unhappy — wrong pulley type, misrouted belt, or a dead clutch) and the belt tracking on every pulley (centered in the grooves, no walking). A short drive, then a re-check of belt seating and tension mark, catches anything that moved. Belt replacement on the same drive as the pulley is worth doing whenever the belt shows any wear — access is open, and the new pulley deserves a belt that grips it properly. The refit question — how to install a alternator belt without pinching fingers or misrouting — is answered by the hand-rotation check in the routing section, and it applies to how to replace a alternator belt on a manual-tension drive as much as to any auto-tensioned one.
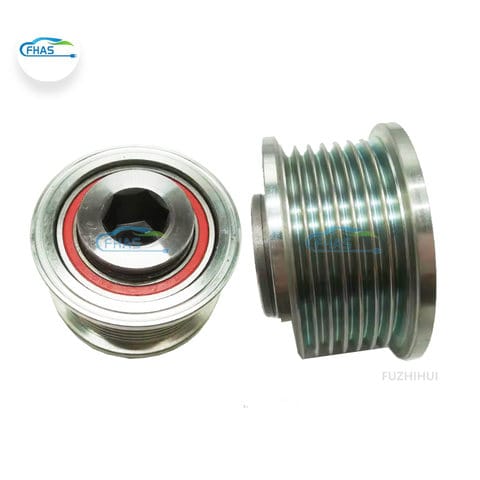
Alternator Pulley for Toyota Hilux III / Camry / RAV4
- New condition · inspected before dispatch
PriceUS$10–12
Minimum order 5 pieces
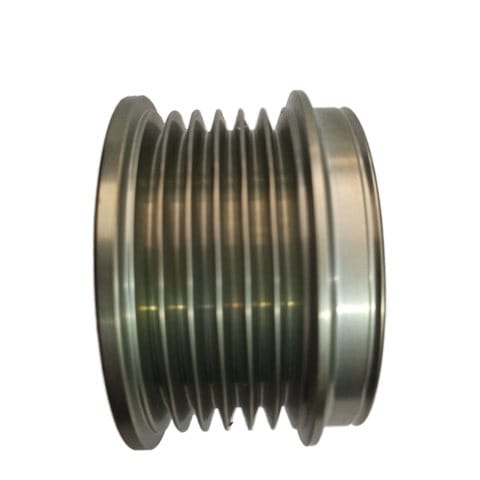
Alternator Pulley for Opel / Buick
- New condition · inspected before dispatch
PriceUS$12.44–13.82
Minimum order 10 pieces
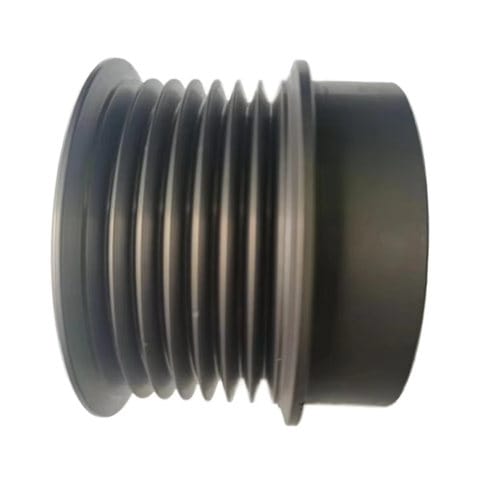
Alternator Pulley for Toyota / Chrysler / Dodge
- New condition · inspected before dispatch
PriceUS$17.98–20.75
Minimum order 10 pieces
FAQ
Do I need to remove the alternator to replace the pulley?
Usually no. On most vehicles the pulley is accessible with the belt off and the right tool — the hex-and-counter-hold set passes through the pulley center. Removing the unit becomes necessary only where access is blocked, and then the same tool discipline applies on the bench.
Which way does the pulley nut turn?
Not always the usual way. Some alternator pulley nuts are left-hand thread. Confirm the thread direction from the specification for your unit before applying force — a left-hand nut tightened with enthusiasm usually ends with a destroyed shaft thread.
Can I reuse the belt after removing the pulley?
Inspect it first. If the ribs are sound, the edges intact, and there is no glazing, a serpentine belt can be refitted. If the belt came off because it was worn, refitting it re-creates the original problem with a new pulley underneath. A belt with any visible wear gets replaced while access is open.
Why does my new belt squeal right after fitting?
Three usual causes: the belt is not fully seated in every groove, the tensioner is outside its wear band (tired spring, not tired belt), or the pulley type is wrong for the drive. Re-check seating first, then the tensioner indicator, then confirm the pulley matches the OE specification.
How do I hold the pulley while removing the nut?
With the belt on, the belt does it. With the belt off, use the shaft-hold tool through the pulley center — never grip the pulley in a vise, which bends flanges and destroys clutch assemblies, and never let the impact wrench hammer on a decoupler that the specification does not allow it near.
What torque does the pulley nut need?
The factory figure for your specific unit — there is no universal number, and decoupler pulleys in particular are calibrated assemblies. Set the wrench before your hands are oily, use the hex-and-counter-hold setup the specification assumes, and treat any "tight enough" as a come-back waiting to happen.
Related parts
Units from our range. Send an OE number and we will check fitment before quoting.
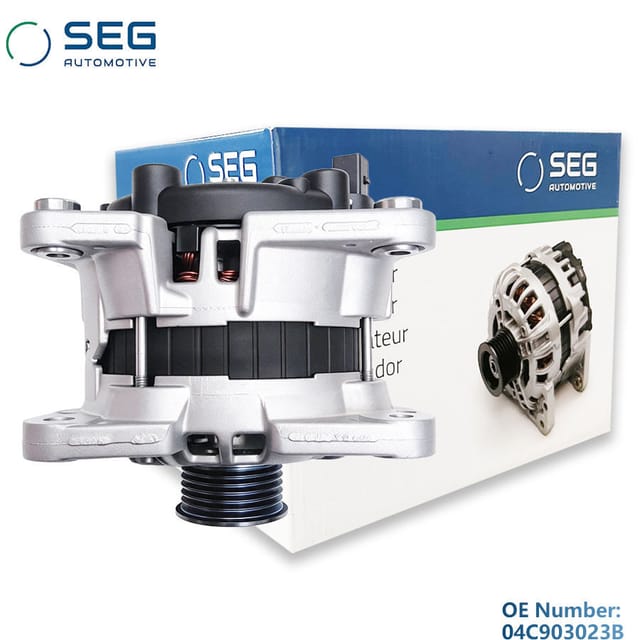 SEG Alternator 12V for Volkswagen Santana (04C903023B)
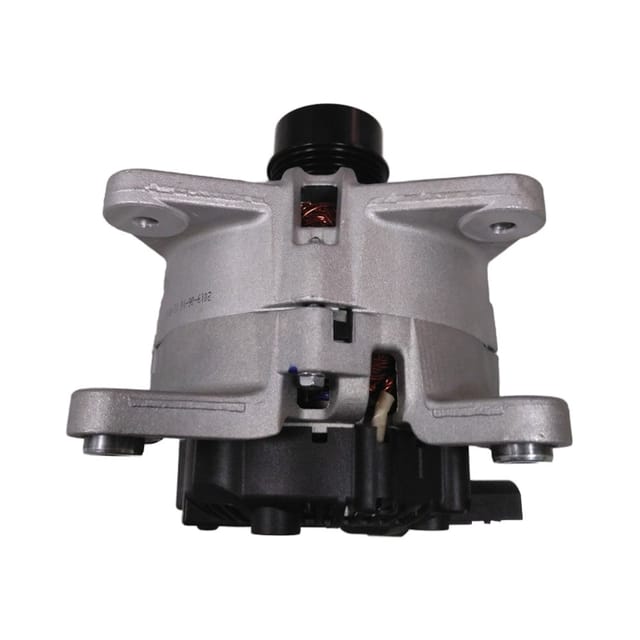 Alternator 12V 120A for Nissan Sylphy B18Z (SVES082754)
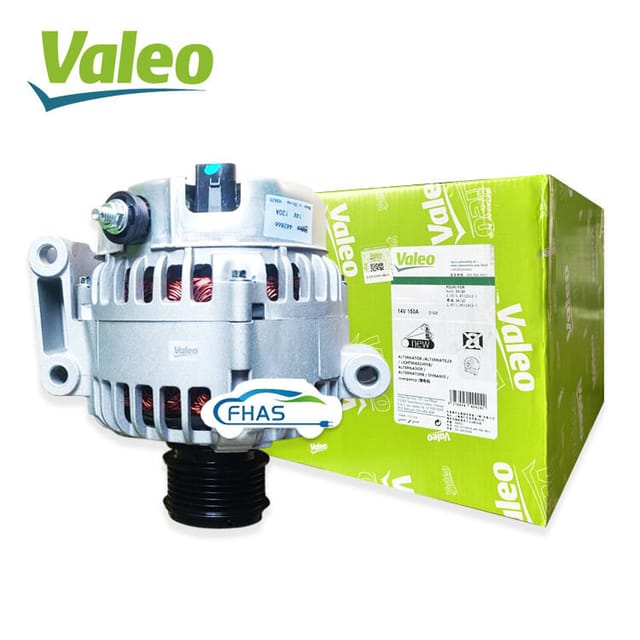 Valeo Alternator 12V 120A for Changan CS35
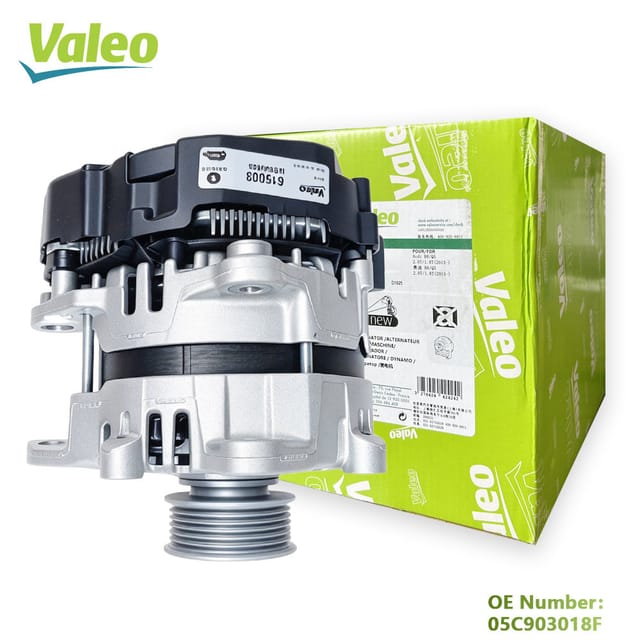 Valeo Alternator 48V 350A 6PK for Audi (05C903018F)
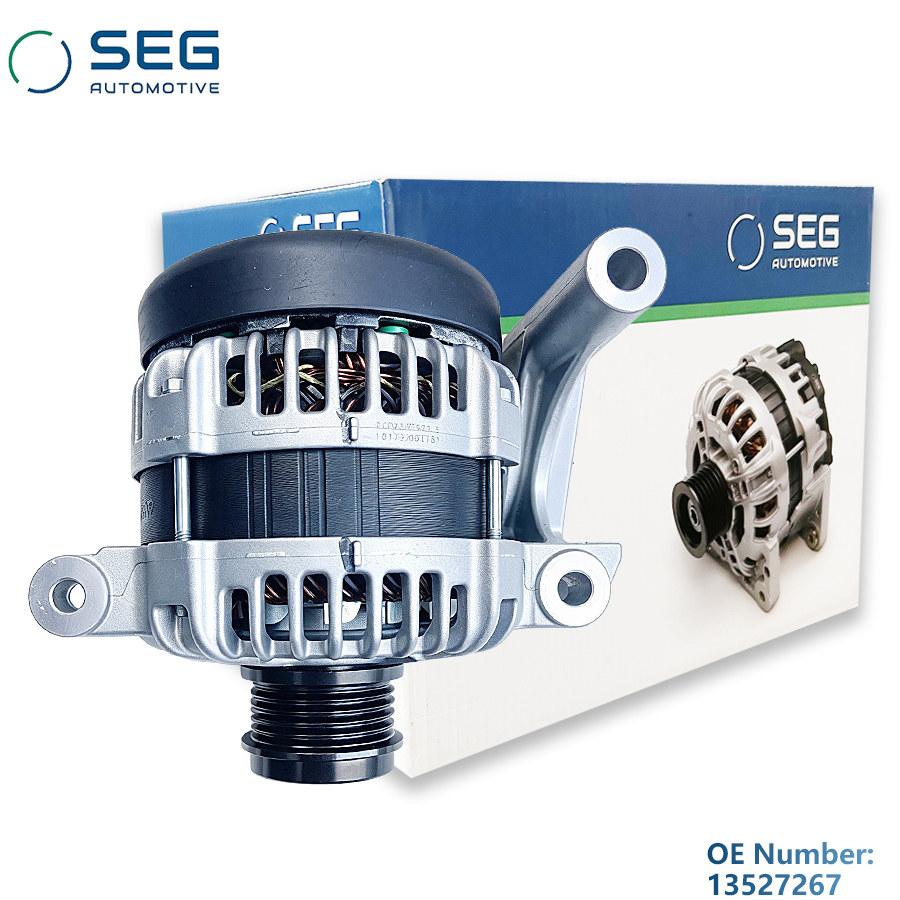 SEG Alternator 12V for Buick Envision 1.5T (13527267)
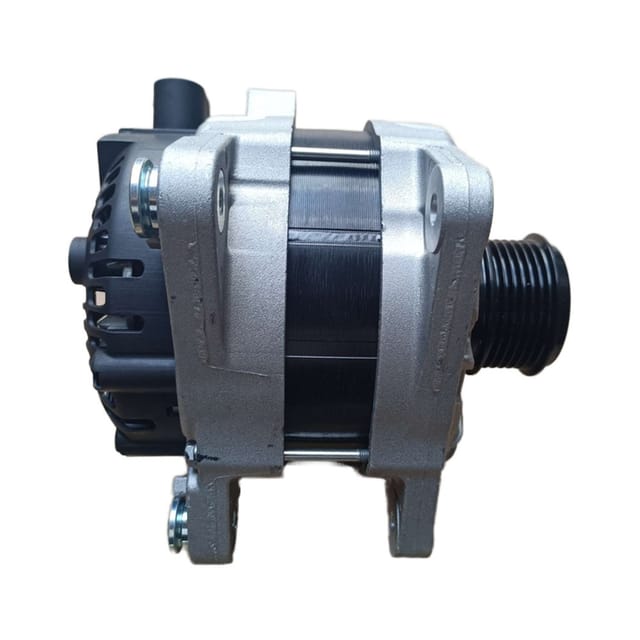 Alternator 14V 150A for SAIC Maxus (TG15S276)
Have a part number to price?
Send it over with the quantity and destination. You will get a fitment check, a unit price and a freight cost — usually the same business day.