
This page starts where the diagnosis ends. You have already decided that the charging side is at fault, and now you have to choose between renewing a part and replacing the whole assembly. You may be at a bench with the unit in front of you, or standing at the car with a printout that may or may not belong to your vehicle. Both questions have the same shape: check the evidence before you spend, because what separates a repair from a replacement is usually how the unit is built and how it is connected.
In short
A wiring diagram is a starting point, not a specification, so confirm the pinout for your own model year. Most charging faults trace to a connection rather than a component, and only the regulator, rectifier, brushes, and pulley can be renewed individually — and only where the unit was built to be opened.
Read the Diagram Before You Trust It
An alternator diagram defines a pinout, a set of wire colors, and a routing for one specific combination of model year, engine, and charging strategy. It does not describe the nameplate on the car. Two vehicles that share a badge can carry different connectors, different pin counts, and, on later cars, a completely different charging strategy. A diagram of an alternator drawn for the wrong year will look entirely plausible, and it will send you to the wrong terminal with confidence.
The check that stops this is unglamorous: match the connector in your hand against the connector drawn on the sheet, pin by pin, before you take a reading. If the shape matches but the pin count does not, stop there: you have the wrong sheet, and that mismatch explains a large share of faults people chase for hours.
A diagram for alternator circuits usually shows more than the heavy output cable. It shows the ground path, the control or lamp circuit, and — on computer-managed systems — the sense line the module uses to decide what the charging system should be doing. A wiring diagram of alternator output on an older car is often two wires on a single sheet, so if that is all you have and your car carries a four-pin plug, the sheet is describing an earlier generation.
Terminology is not your friend here, so treat the title as decoration. One manual titles the sheet an alternator connection diagram. A dealer technical bulletin publishes the same drawing as a car alternator connection diagram. A forum post files it as an alternator wire diagram. An alternator wiring schematic is just another label for the same sheet, and so is a wiring alternator diagram. What matters is never the label; it is whether the year, engine code, and charging strategy on the sheet match the vehicle in front of you. Where those are unclear, you need the manufacturer's own service data rather than a general diagram, because guessing here is how alternators and control modules get damaged.
What Each Wire and Pin Actually Does
Understanding alternator wiring comes down to four jobs. The heavy output cable carries charging current to the battery. The ground path completes that circuit, usually through the housing and the engine block rather than a dedicated cable. A control or lamp wire tells the instrument cluster or the engine module what the charging system is doing. And on smart-charging systems, a sense line reports battery condition so the module can vary the target voltage. Generic alternator wiring diagrams often show only the first two, which is why they are so misleading on anything built in the last two decades.
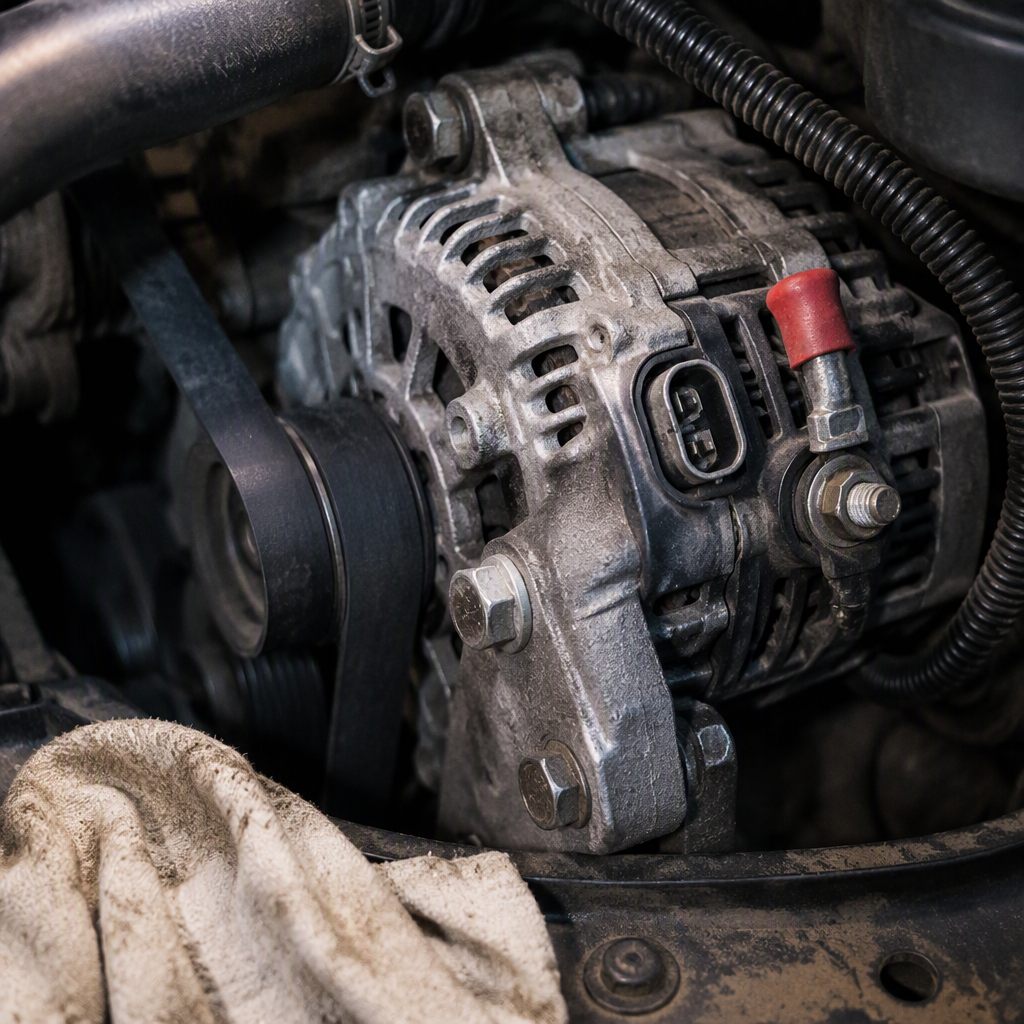
The physical side is where most faults actually live. An alternator plug that has been cooked by engine heat develops resistance, and so does every corroded terminal behind it. An alternator connector that no longer clips home can make contact when cold and lose it once the bay is hot, producing a fault that appears and disappears with temperature. An alternator wiring harness that has been chafed against a bracket can look perfect until you flex it. Before condemning a unit, flex the harness, unplug and inspect the connector pins, and measure voltage drop across the charging path, where a few tenths of a volt is already the practical limit and some manufacturers allow less.
Pin counts exist because charging strategies differ. A 1 wire alternator wiring diagram shows a self-exciting unit with no control circuit at all: the output cable is the only connection. A 2 wire alternator wiring diagram adds a control or lamp connection, which is the arrangement most older cars use.
A 2 pin alternator wiring diagram describes a plug with a single control circuit on two pins, which is common across many European platforms. A 4 wire alternator wiring diagram usually adds a dedicated sense wire and a second ground, which is what a module-managed charging system needs in order to regulate properly. If you fit a unit wired for one strategy into a car built for another, the mechanical fit can be perfect and the charging will still be wrong, and a wiring diagram for an alternator of the wrong generation will not warn you.
The Regulator: Internal, External, and When It Comes Off
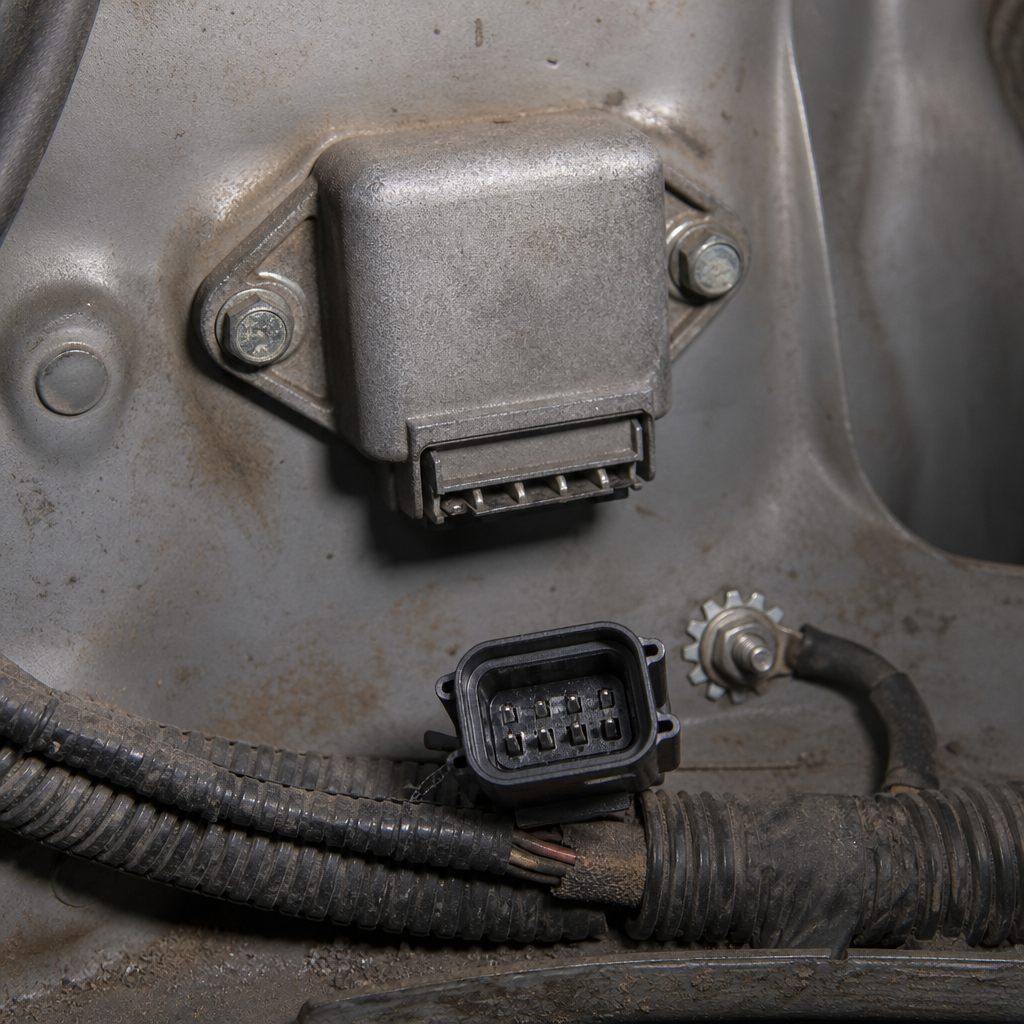
A generator power regulator and an alternator regulator do the same job by different means: they control field current so output stays inside a safe band. In service literature the part is usually simply called the voltage regulator, whichever housing it lives in. On older designs the regulator is a separate box on the inner wing or the bulkhead, wired to the unit and replaceable on its own in minutes. On almost every modern alternator it is a sealed module mounted inside the rear housing, which changes the repair decision entirely.
On those older designs, a wiring an alternator diagram will show the regulator as its own component with its own connector, which makes it a genuine service item. You can replace an alternator regulator separately, re-test, and keep the original unit. On those layouts the alternator and regulator sit on the vehicle as two separate boxes, which is exactly why the older arrangement is more repairable. The failure signature is also instructive: a regulator that has lost control overcharges, which corrodes plates and boils electrolyte, so a car with a dead battery and a burnt smell after a long drive is describing the regulator rather than the battery.
Where the regulator lives inside the housing, the honest answer about renewability depends on how the unit is assembled, and that is a manufacturer-specific question rather than a general one. Some units are built to be opened and rebuilt, with the regulator, rectifier, and brush assembly available separately. Others are crimped or potted assemblies that the maker supplies only complete. Check the service data for the specific unit before promising yourself a rebuild, and treat any general claim about "alternators being rebuildable" as unreliable.
The regulator also carries the fault that gets misdiagnosed most often. Heat cycling is what kills them: the module lives at the back of the unit, closest to the exhaust on many installations, and thermal fatigue eventually breaks the internal joints. A regulator on its way out frequently passes a cold test and fails once the engine bay is hot, so a charging fault that only appears after twenty minutes of driving is a regulator symptom far more often than a battery symptom.
Brackets, Belts, and Pulleys
Mounting hardware fails more often than people expect, in ways that imitate an electrical fault. An alternator bracket can crack at a bolt ear or elongate its hole, letting the unit shift under load. That movement changes belt tension, the belt then slips, and the driver experiences dim lights and a weak charge — with a perfectly healthy alternator bolted to a broken bracket. A heavily loaded engine makes alternator brackets worth inspecting as a wear item rather than assuming they are inert.
Alignment matters as much as strength. If the unit sits even slightly out of plane with the crank pulley, the belt wears on one edge and begins to chirp, and no belt replacement will fix it. A dual alternator bracket adds a second consideration: two units driven from one belt impose loads the original tensioner was never designed for, so belt specification and tensioner condition must be checked together.
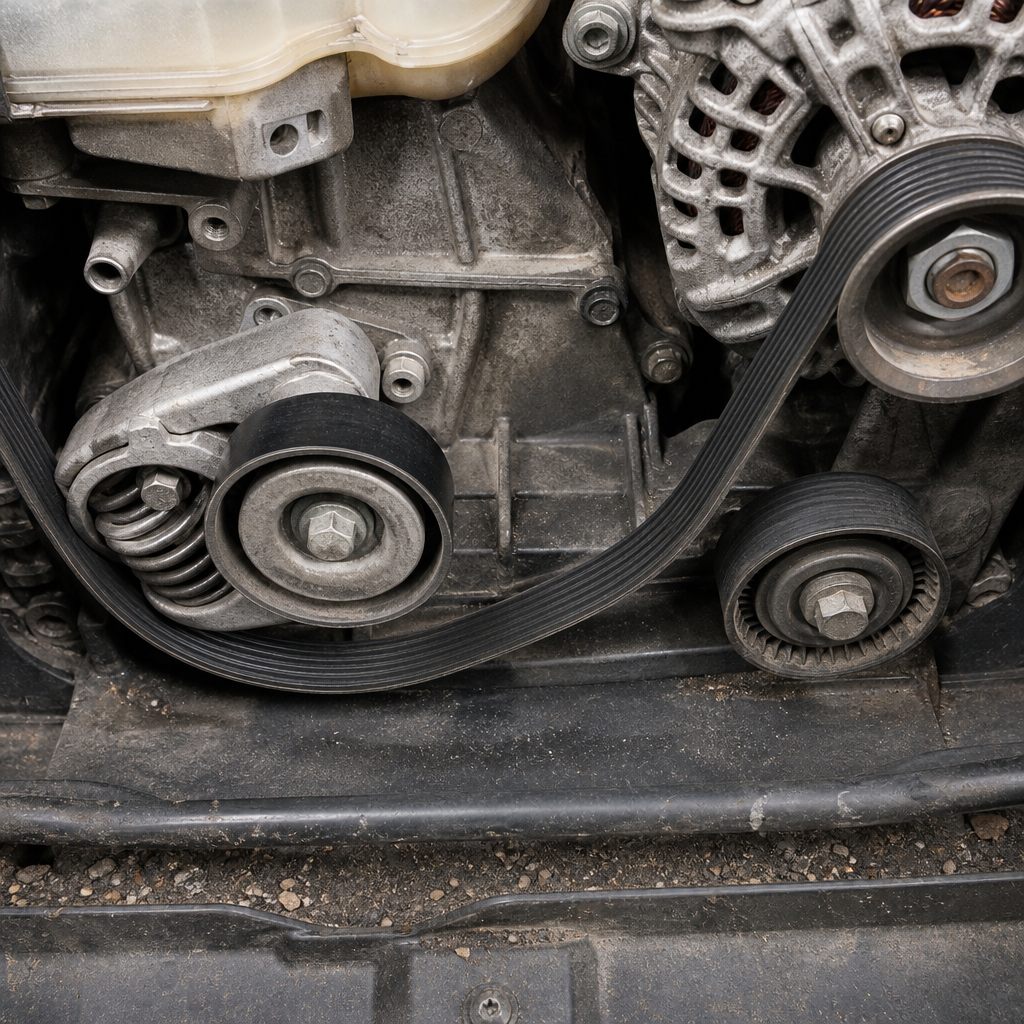
The belt side is documented for a reason. An alternator belt diagram exists because routing is not obvious once the belt is off, particularly on serpentine arrangements where one belt drives everything and a single misrouted run will destroy itself in minutes. Photograph the routing before you release tension, and pay attention to the serpentine belt/pulley pairing: the ribs must match the pulley grooves, and a worn tensioner or idler will shred a new belt.
Pulley type is the last piece of mounting hardware people get wrong. Many modern units use an overrunning decoupler rather than a solid pulley, and the two are not interchangeable. A decoupler allows the alternator rotor to keep spinning briefly when the engine decelerates, which smooths belt loads; substituting a solid pulley removes that function and loads the belt and bearings instead. If the original is a decoupler, the replacement must be one, fitted with the correct tool and torque.
Repair or Replace: Deciding With Evidence
The parts worth considering individually are the regulator, the rectifier, the brush assembly, the bearings, and the pulley, and each has a testable failure mode. A failed rectifier shows up as alternating-current ripple across the battery, or as a discharge that drains the battery while the car sits. Worn brushes show as an intermittent no-charge that responds to a tap on the housing, and a rumble that tracks engine speed points at a bearing rather than at charging at all. None of these tests require opening the unit.
The decision rests on three questions in order. Is the unit built to be opened, with parts available separately? Does the fault match a part you can buy on its own? And is the rest of the unit sound — good bearings, an unworn slip ring, a straight housing? Two yeses and a sound core justify a repair. If the housing is cracked, the slip ring is deeply grooved, or the maker supplies only complete units, the assembly is the correct answer and further diagnosis is wasted effort.
Here is the counterintuitive part, where experience pays off. A large proportion of alternators replaced on the strength of a charging complaint are never given the chance to prove themselves faulty, because the real problem was upstream: a corroded connector, a chafed harness, an over-tensioned belt that had been glazed for months, or a bracket that had shifted. The unit was condemned by association. Even a sloppily titled wiring a alternator diagram from a forum can be accurate, while a beautifully produced sheet for the wrong year sends you to the wrong pin — which is why the evidence has to come from the car, not the paperwork.
Whatever you renew, the job is not finished at reassembly. Re-test charging voltage under load with the engine hot, confirm the ripple figure is within the manufacturer's limit, check the belt tension and alignment after a few minutes of running, and on module-managed systems complete any required registration or relearn. A wiring diagram for a alternator tells you where the wires go; only a re-test under load tells you the repair actually worked. Once the electrical side is settled, fitment decides how long the repair lasts. Our stock covers OE-matched alternators and service parts from Valeo, SEG, and Halla through official channels, with pure copper windings and OEM specification, and units are listed by amperage rating and pulley type so the part matches what came off the engine.
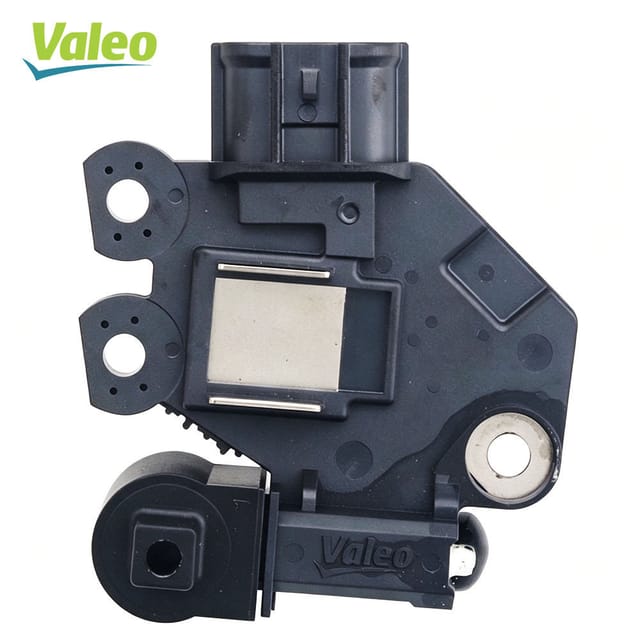
Valeo Voltage Regulator 12V for Hyundai / Kia (2614507)
- OE / cross-reference: 2614507 · 2612293 · 2614628 · 592092
- Valeo brand line
- New condition · inspected before dispatch
PriceUS$8.80–11.50
Minimum order 10 pieces
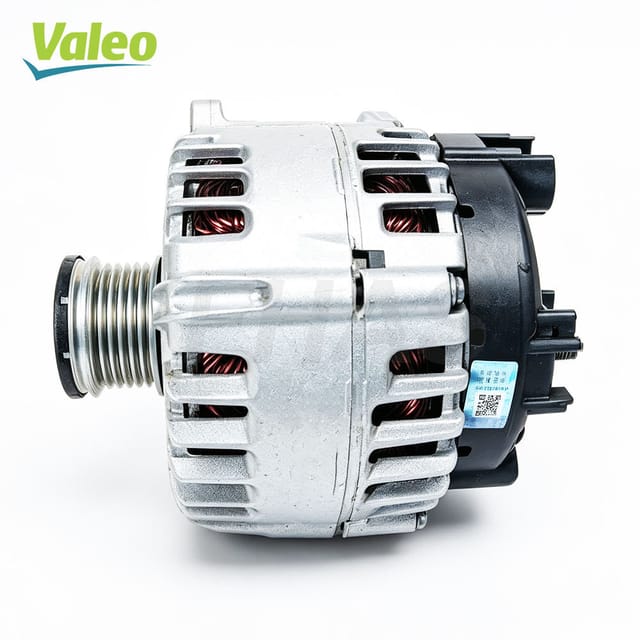
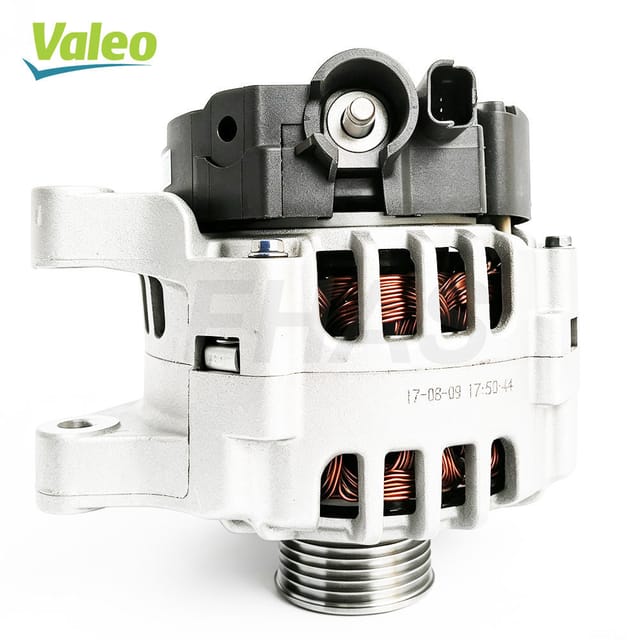
Valeo Alternator 12V 140A for Volkswagen Octavia (04E903023C)
- OE / cross-reference: 04E903023C · 04C903023C · 04E903024Q · F000BL08C8 · 115916 · 116193 · CAL10549 · CAL10549AS · 8EL012241201 · 04C903021A · 04C903021AX · 04C903023K · 04C903023KV · 04C903023KX · 04C903023LV · 439975 · 440475 · TG14C046 · TG14C049 · TG14C071 · TG14C083 · TG14C094 · TG14C103
- Valeo brand line
- New condition · inspected before dispatch
PriceUS$96.99-104.99
Minimum order 2 pieces
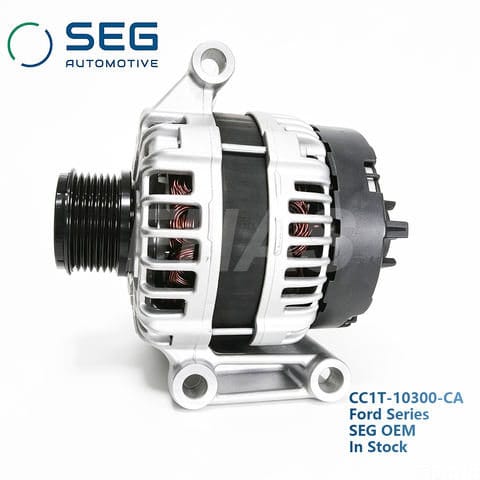
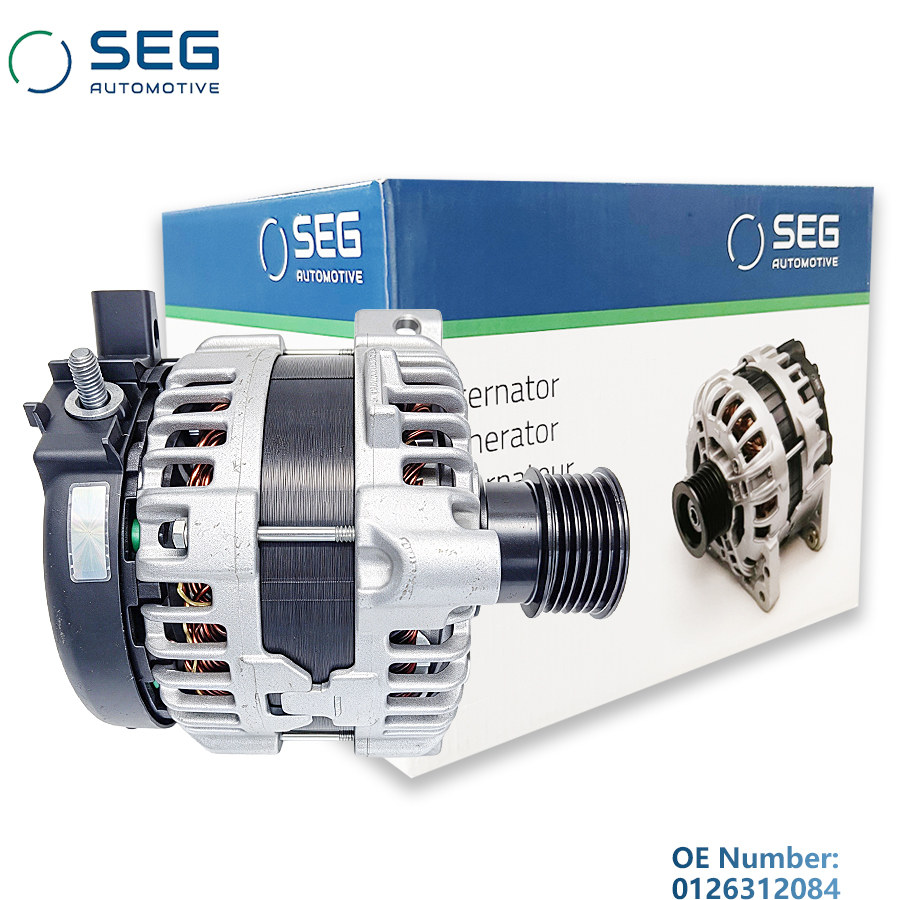
SEG Alternator 12V for Ford Ranger / Transit
- SEG brand line
- New condition · inspected before dispatch
PriceUS$107.99–116.99
Minimum order 2 pieces
FAQ
Why does my charging fault only appear when the engine is hot?
Resistance rises with temperature, so a marginal connector, a tired regulator, or a failing bearing can measure acceptably cold and fail once the bay reaches operating temperature. Test hot, under load, rather than after a short idle.
Can I replace just the brush assembly on a modern alternator?
Only where the maker lists it separately and the housing is designed to be opened. On sealed or potted units the brushes are not a service item, so the practical route is an exchange unit or a competent rebuild rather than a bench repair.
How do I identify which pin is which without a manufacturer diagram?
You can often infer it by function: the heavy cable is output, the housing is ground, and the remaining small terminals carry control or sense. Inference is not proof, however, and the safe course on a module-managed car is to obtain the pinout before connecting anything.
Does a cracked mounting bracket cause charging problems?
Yes, indirectly. A cracked or elongated bracket allows the unit to shift, which changes belt tension, and a slipping belt underdrives the alternator. The unit tests healthy on the bench while the car still undercharges.
Why did my replacement alternator come with a different connector?
Because connectors track model year, engine, and charging strategy rather than vehicle name. A unit built for an earlier or later variant of the same car can have a different plug, and may need an adapter or a different part number.
Is it worth rebuilding an alternator instead of replacing it?
It is worth it when the core is sound, the parts are available separately, and the failure matches a serviceable item such as the regulator or rectifier. When the housing is damaged or the maker supplies only complete assemblies, replacement is the better use of the money.
Related parts
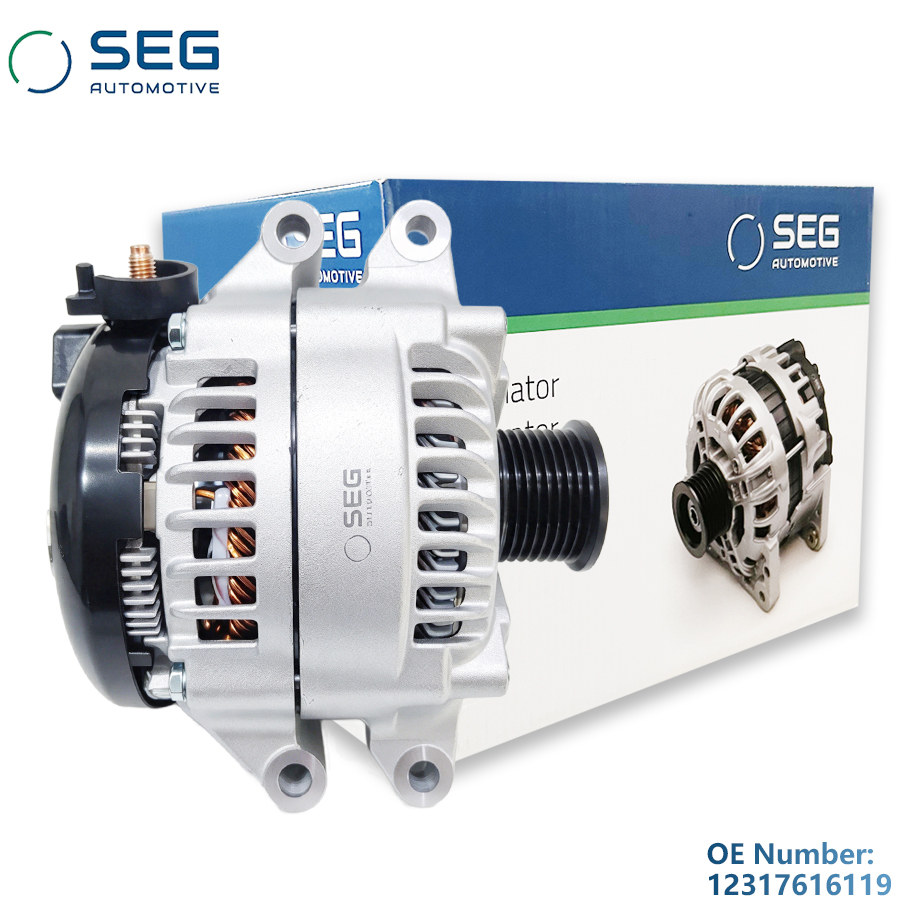
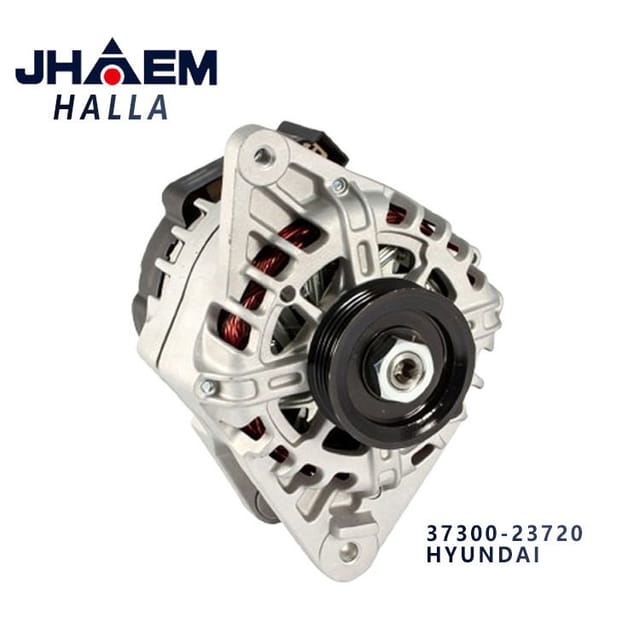
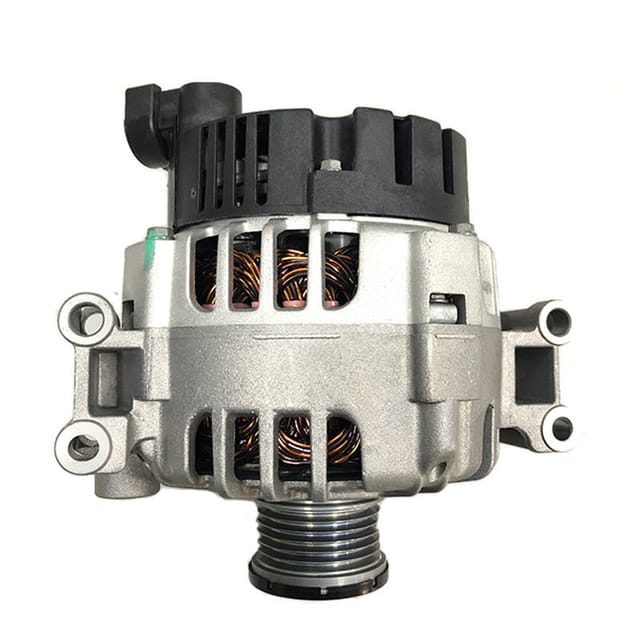
Units from our range. Send an OE number and we will check fitment before quoting.

Have a part number to price?
Send it over with the quantity and destination. You will get a fitment check, a unit price and a freight cost — usually the same business day.